Imagine discovering an amazing movie or show on your laptop and wanting to stream it directly to your TV or another PC using Miracast. Miracast is a wireless display technology that enables your device to automatically detect and connect with other compatible screens, allowing you to share your display without the need for HDMI cables. With this technology, you can effortlessly mirror your device’s screen on a larger display—keeping your setup neat and cable-free. The only downside is that the source device’s screen must remain active during the entire casting session.
Perhaps you’re even trying to mirror your smartphone’s display onto your TV or PC, only to repeatedly face the error message: “Your PC doesn’t support Miracast.” In this guide, we will explore practical troubleshooting steps to resolve Miracast connection issues on Windows systems, so you can enjoy a seamless streaming experience across all your devices.
How to set up Miracast in Windows 10/11
- Check to see if the Windows 10 system on your PC is ready to go:
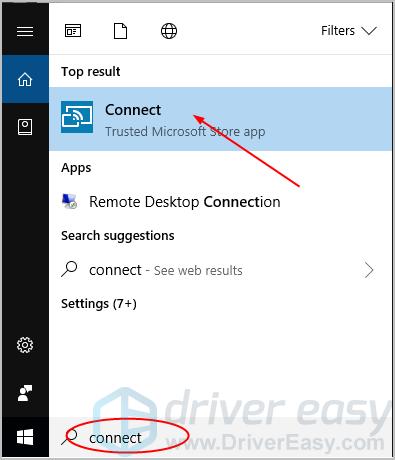
Type connect in the search box from your Start menu.
Next, verify if your Windows 10 computer supports Miracast.
a) If you see the window displayed on the bottom left, it means your Windows 10 system is Miracast-compatible and you can proceed with setting it up.
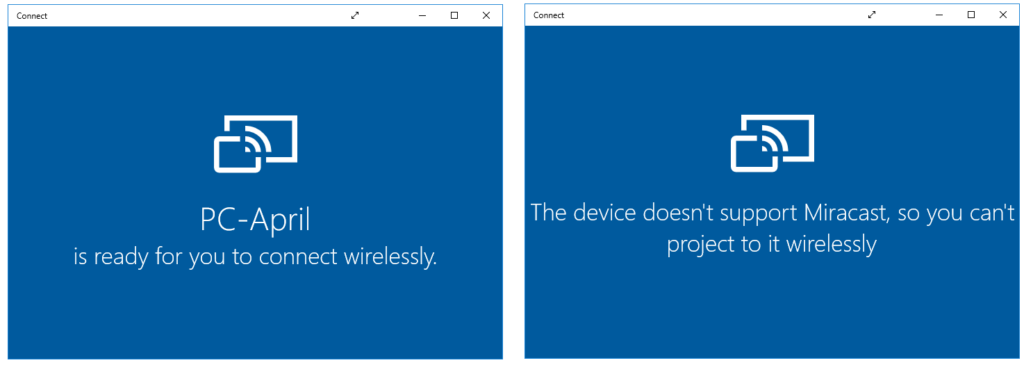
b) If, however, you see the window below, don’t worry. Instead, start by checking out the guide titled “How Can I Fix the Issue of Miracast Not Working on My Windows 10 Computer?” for troubleshooting steps
2. Set up the Miracast on your Windows 10 computer and your display device:
Turn on the display device you want to project to, like a TV or a projector. If your display device doesn’t have built-in Miracast support, plug a Miracast adapter such as a Microsoft Wireless Display adapter into your display device.
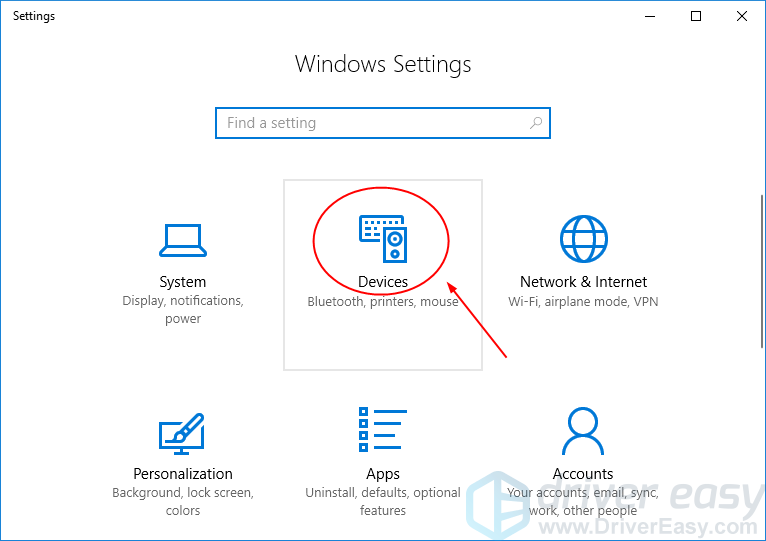
On your Windows 10 PC keyboard, press the Windows logo key and I (at the same time) to invoke the Settings window.
Click Devices.
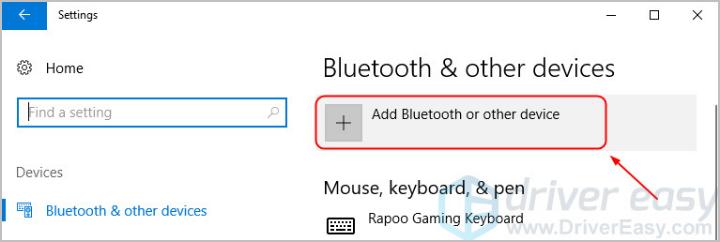
By default, you’ll see it under the “Bluetooth & other devices” category. Just click on “Add Bluetooth or other device” to start the process.
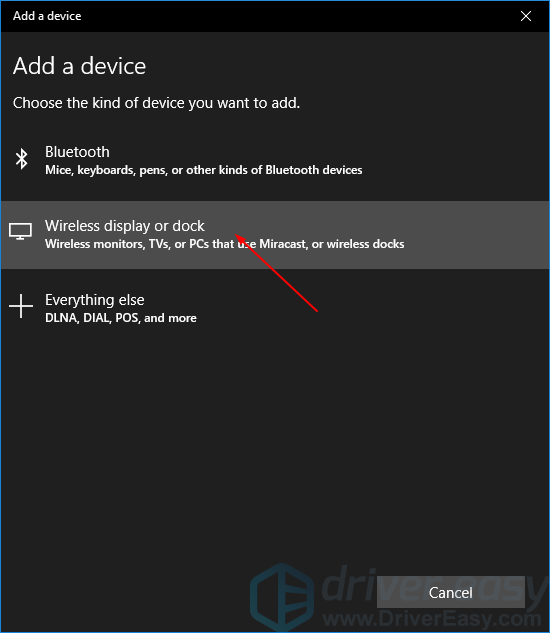
Click Wireless display or dock.
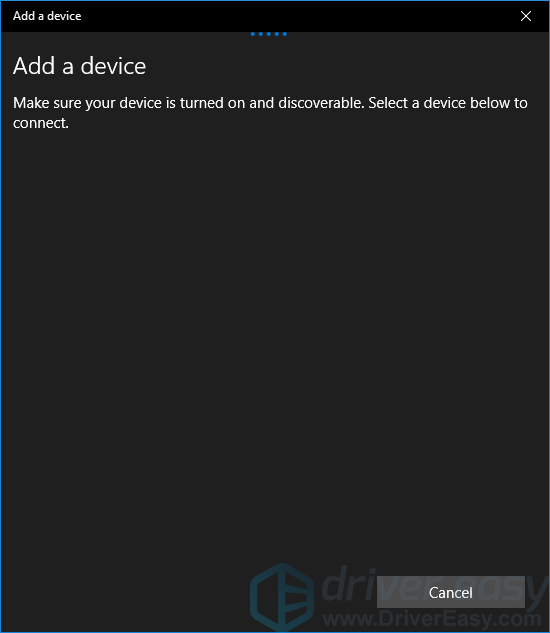
Windows 10 will automatically recognize the display device that you previously powered on. Simply click on your display device to begin projecting your screen.
How do I solve Miracast not working on Windows?
- Fix 1: Check if your PC is Miracast compatible
If your Windows 10 PC fails to Miracast, the very first step is to ensure your computer supports the feature.
Follow these steps:
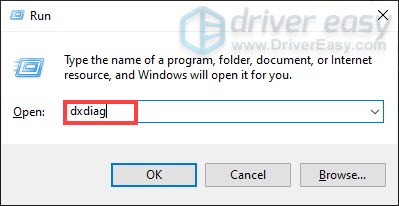
- Press the Windows key + R simultaneously to open the Run dialog.
- Type dxdiag and press Enter to launch the DirectX Diagnostic Tool.
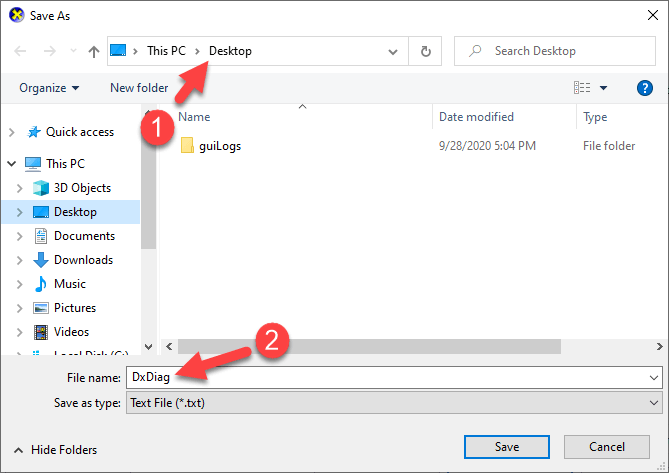
3) In the DirectX Diagnostic Tool window, select the option “Save All Information…” to export your system details

4) When the Save As dialog appears, select a destination for the file—saving it to your Desktop is a convenient option for easy access later.
5) From your desktop, double-click on the DxDiag text file to open it.
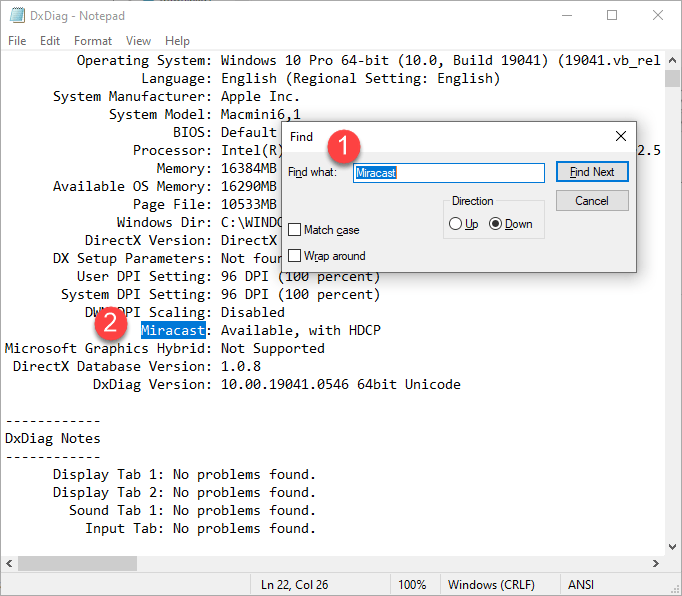
6) With the DirectX Diagnostic Tool open, press CTRL+F to bring up the search function. Type “Miracast” and hit Enter to locate the relevant entry. If you see Miracast listed, you can move on to the next troubleshooting step (Fix 2). If it’s not available, your system likely doesn’t support Miracast, which may mean you need to consider a hardware upgrade if you want to use this feature.
- Fix 2: Check if WiFi is enabled on both devices
Miracast is a wireless standard that enables your sending device to connect directly to a display without cables. For Miracast to work properly, both devices need to be on the same WiFi network—an Ethernet connection simply won’t suffice.
Here’s how to confirm that WiFi is enabled on your computer:
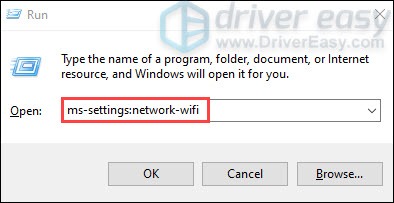
- Press the Windows key + R simultaneously to open the Run dialog.
- Type
ms-settings:network-wifiand press Enter to open your WiFi settings.
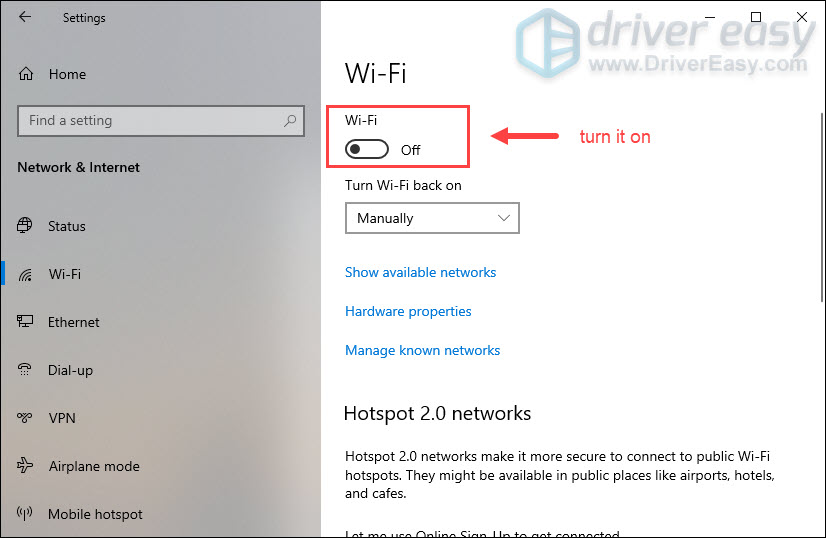
This will help ensure your system is connected via WiFi, which is essential for a smooth Miracast experience.
3) Click on the toggle to activate WiFi if it’s deactivated.
Simultaneously, ensure that your receiving device is connected to the same WiFi network. Once both devices are on the same network, you can test Miracast by following these steps:
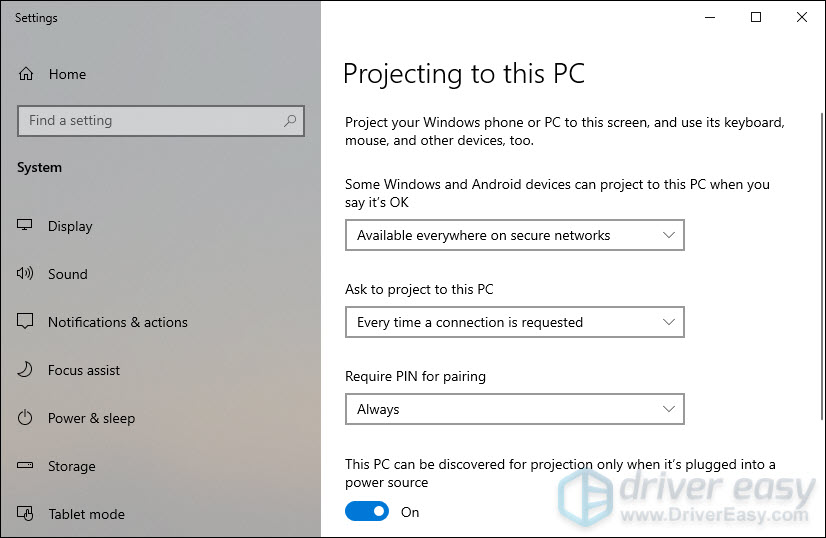
- Open the Windows Search box, type projection, and then select Projection settings from the results.
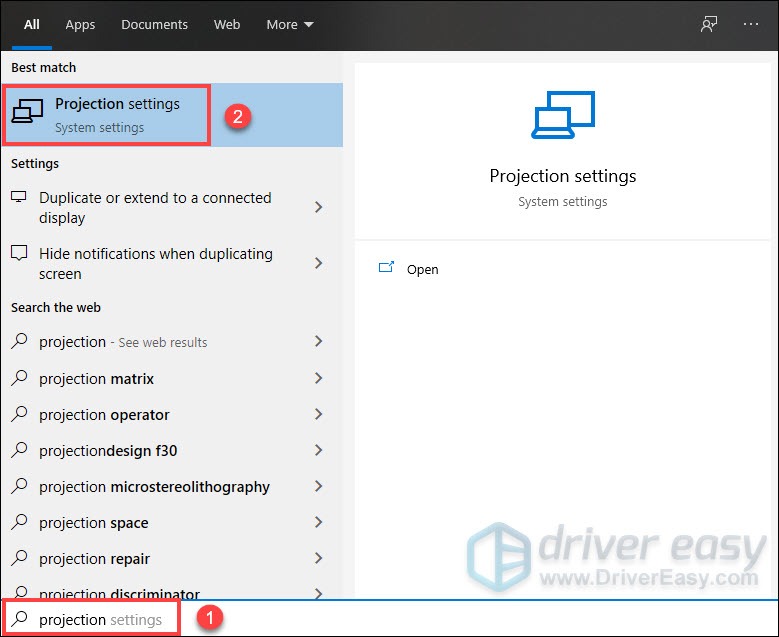
2) The error message should be gone.
Is Miracast still not working? Don’t worry – here’s one more fix for you to try.
- Fix 3: Update your device drivers
Your Miracast connectivity issues might be caused by outdated, incorrect, or corrupted drivers on your PC. Updating these drivers can often resolve the problem. If manually updating drivers feels too time-consuming or challenging, you can let a tool like Driver Easy do it for you automatically.
Driver Easy scans your system, identifies the correct drivers for your hardware, and downloads and installs them for you. You won’t have to worry about checking your system’s specifications or accidentally installing the wrong driver—Driver Easy manages the entire process seamlessly.
You have the option to update your drivers automatically using either the free version or the Pro version of Driver Easy. With the Pro version, the process is streamlined into just two simple steps (plus you receive full support and a 30-day money-back guarantee):
- Download and install Driver Easy.
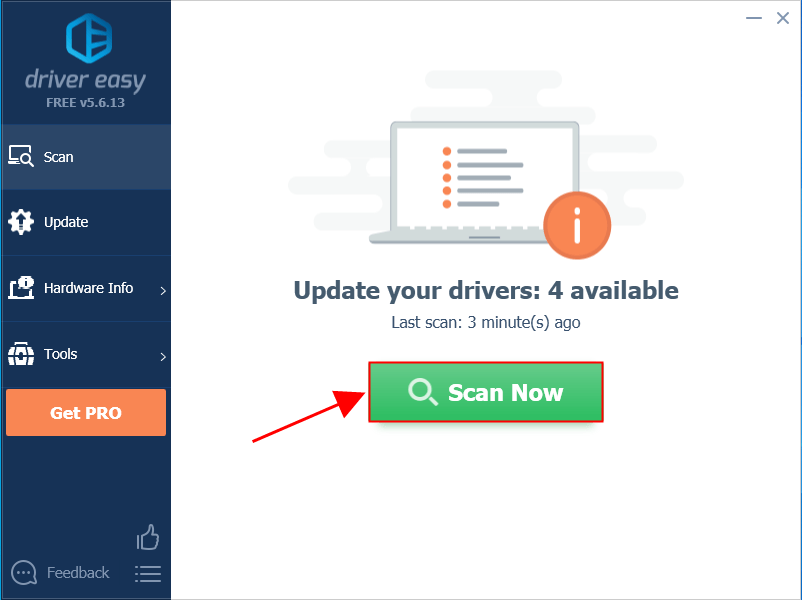
- Open Driver Easy and click the “Scan Now” button. The program will then scan your computer to detect any problematic drivers.
By keeping your drivers up to date, you’ll improve your system’s performance and enhance Miracast functionality.
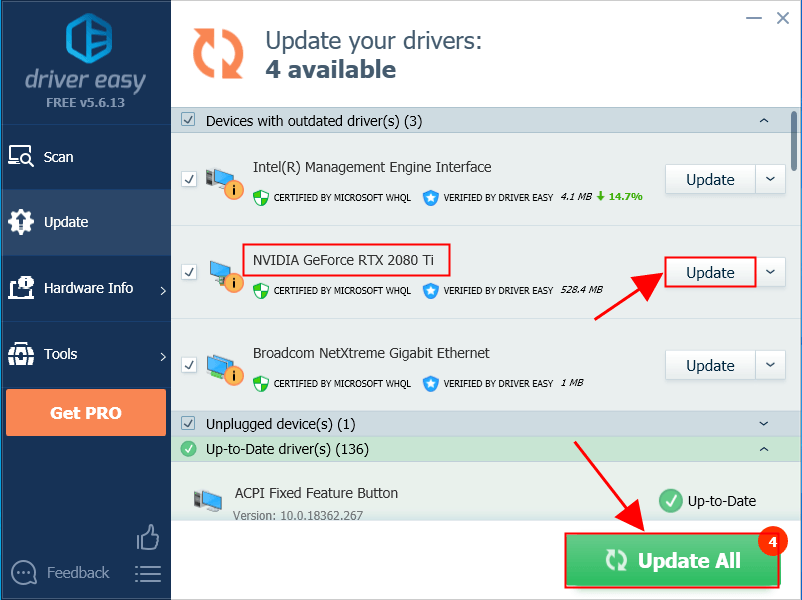
3) Click “Update All” to automatically download and install the latest drivers for any missing or outdated components on your system. (This feature is available in the Pro version—if you click “Update All,” you’ll be prompted to upgrade.)
birkaç saniye hakkında Akıl yürütüldü
Note: While you can update drivers manually at no cost, this process involves some manual work.
- Restart your computer so the new drivers take effect.
- Then, try setting up Miracast again to see if the issue has been resolved.